

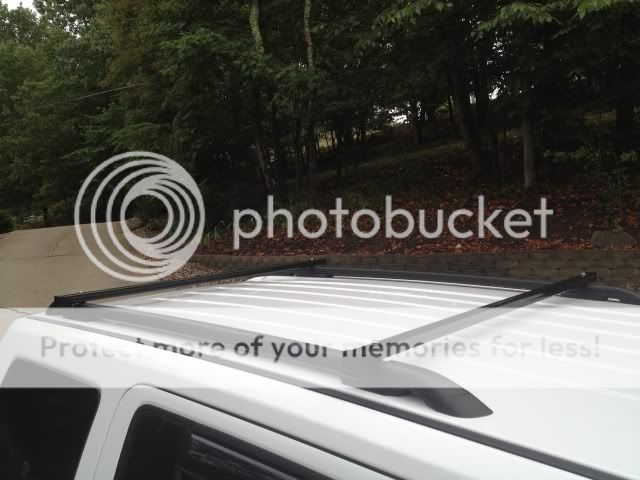
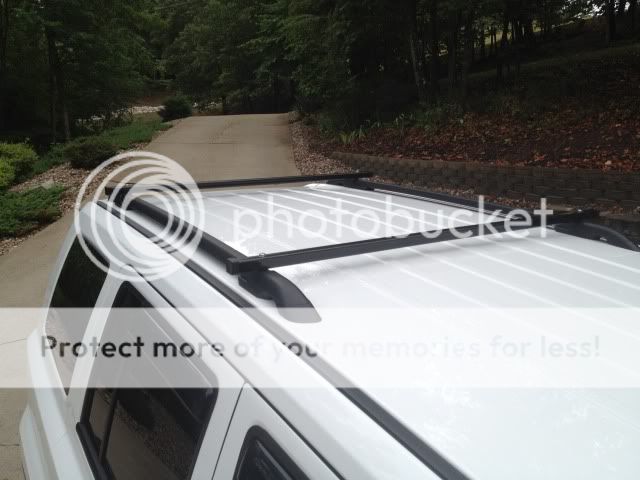
I wanted to get the maximum spread possible on the factory roof rack, so I decided to make my own cross bars. The main reason I did this was for hauling my canoe. I like to spread the support points as much as possible.
Parts List:
8' of 1" x 1" x 1/8" square tube $15
4 - slotted riv nuts 1/4-20 Free (I had them already)
4 - 1/4 20 knobs $10
4 - rubber washers $2
4 - 1" square caps $2
4 - Torx head 1/4 20 machine screws 1 1/2" long $5
1 - can black paint Free
$34 , so far....
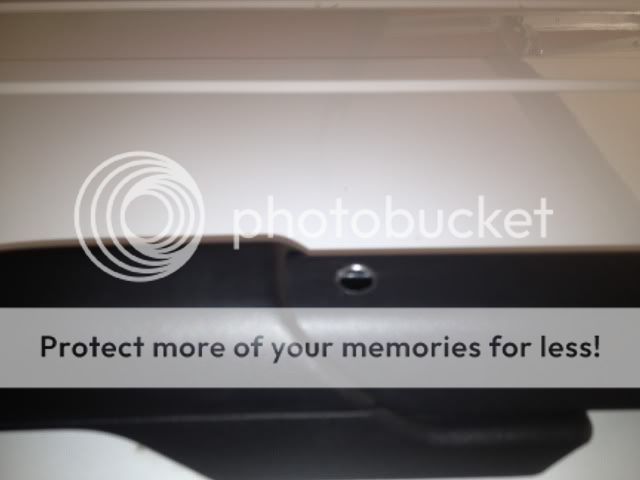
First, I drilled the holes for the riv nuts 3/4" back from the roof rack bar caps. I painted the edge of the hole prior to installing the riv nuts and I cleaned out all the drill shavings.
![Image]()
![Image]()
Then using the riv nut installation tool installed all four riv nuts. You can put quite a bit of pressure on the riv nuts. You don't want to rip the riv nuts/bar apart, but you need enough pressure so that the nut won't turn in use.
![Image]()
Next, I cut the bars for a 2" overlap on each end, drilled the bars to match the riv nut width and painted the them black. I used black RTV to install the end caps on each bar.
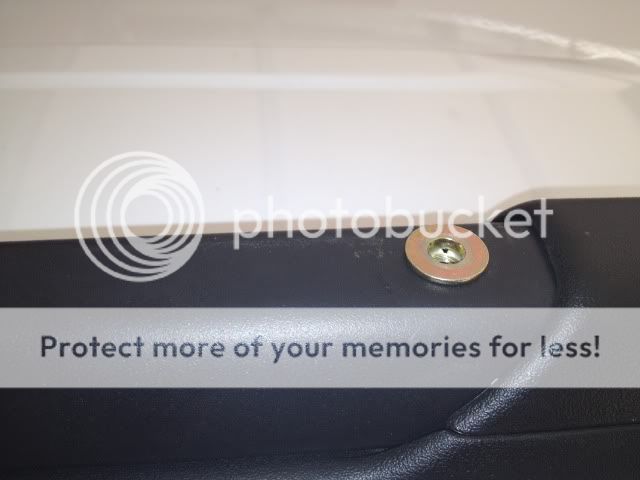
For installation, I used a stainless machine screw with lock and flat washer on top and a rubber washer on the bottom of each bar.
![Image]()
![Image]()
![Image]()
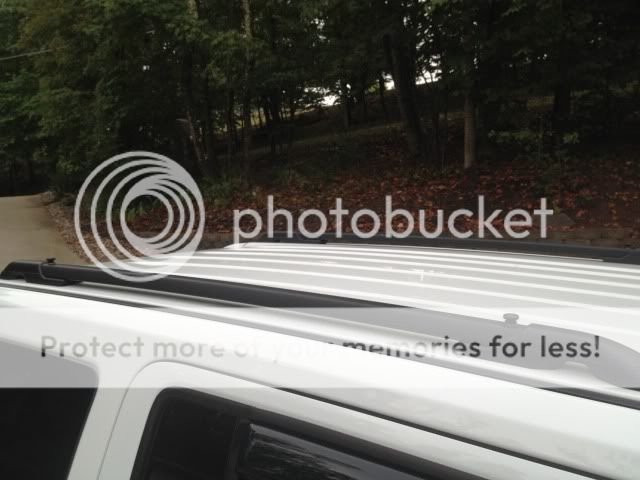
When the bars aren't on, I use the knobs to seal up the riv nut holes. I drilled out some flat faucet washers for the bottom of the knobs and I use teflon tape to help keep the knobs from vibrating out.
![Image]()
I still plan to put on a coat of satin black paint on the bars and I haven't decided yet on what type of rubber to put on the top of the bars. I'm thinking either Buna-n or Neoprene with an adhesive back. This will add about $20 to the project depending on what I choose.
Parts List:
8' of 1" x 1" x 1/8" square tube $15
4 - slotted riv nuts 1/4-20 Free (I had them already)
4 - 1/4 20 knobs $10
4 - rubber washers $2
4 - 1" square caps $2
4 - Torx head 1/4 20 machine screws 1 1/2" long $5
1 - can black paint Free
$34 , so far....
First, I drilled the holes for the riv nuts 3/4" back from the roof rack bar caps. I painted the edge of the hole prior to installing the riv nuts and I cleaned out all the drill shavings.
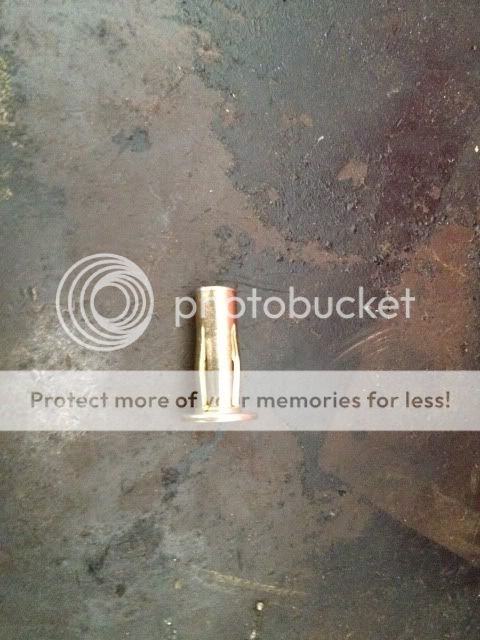
Then using the riv nut installation tool installed all four riv nuts. You can put quite a bit of pressure on the riv nuts. You don't want to rip the riv nuts/bar apart, but you need enough pressure so that the nut won't turn in use.
Next, I cut the bars for a 2" overlap on each end, drilled the bars to match the riv nut width and painted the them black. I used black RTV to install the end caps on each bar.
For installation, I used a stainless machine screw with lock and flat washer on top and a rubber washer on the bottom of each bar.

When the bars aren't on, I use the knobs to seal up the riv nut holes. I drilled out some flat faucet washers for the bottom of the knobs and I use teflon tape to help keep the knobs from vibrating out.
I still plan to put on a coat of satin black paint on the bars and I haven't decided yet on what type of rubber to put on the top of the bars. I'm thinking either Buna-n or Neoprene with an adhesive back. This will add about $20 to the project depending on what I choose.


 epper:

